


[vc_row][vc_column][vc_column_text]Alright if you’re one of the streamers that uses XSplit instead of the ever popular OBS, then this guide on how to add an overlay is just for you.
We’ll make this nice and quick – because, well… it’s really easy!
There are two ways you can add your overlay to XSplit.
Let’s start with the method that literally takes 3 seconds:
note: if you don’t already have XSplit installed, you can grab it here.
If you prefer reading – See below:
1. Fastest Way To Add Your Overlay Image To XSplit
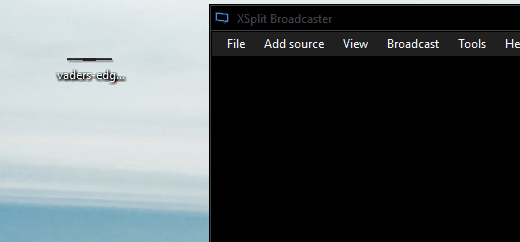
click and drag…
Yup – that’s it.
Simply find wherever you have your overlay saved on your computer, hover your mouse over the image, click and hold left click, now drag the image to your XSplit Broadcaster window.
You should now have your Twitch stream overlay in your source box, ready for streaming.
2. Alternative Method For Adding Your Overlay to XSplit
So if you’re not in a click and drag mood, then we’ve got just the option for you…
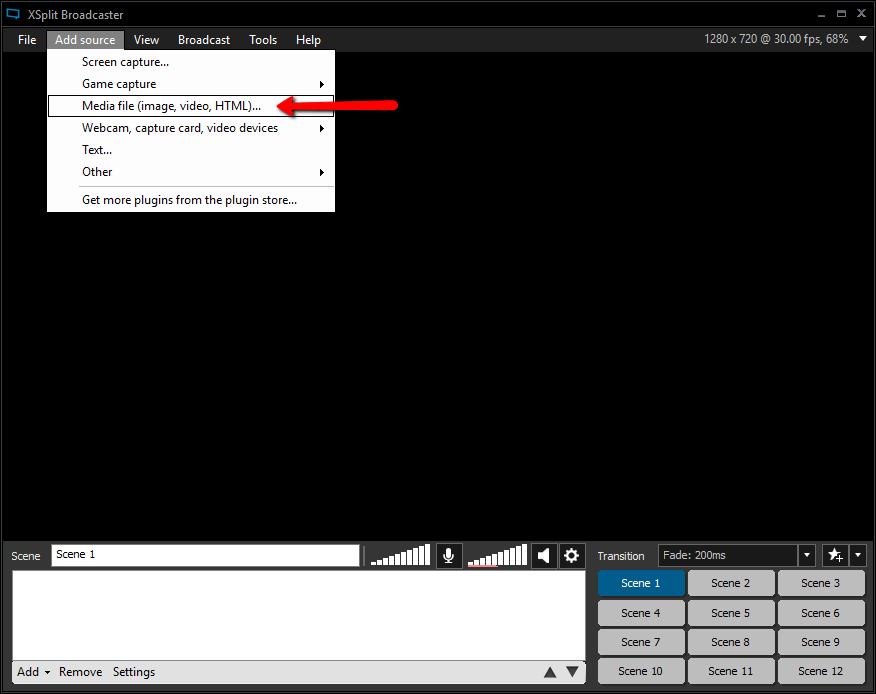
While you’re in XSplit, look for the Add source button on the top left, or bottom left (they both do the same thing).
Now choose the Media file option, then simply browse for your overlay image and hit Open.
And there you go – your spiffy new overlay is good to go!
Resizing Your Overlay
Odds are that when you added your overlay image to your scene it wasn’t sized exactly the way you wanted it.
To resize it, just hover your mouse around the overlay and click and drag the white box like you would when resizing a window.
Now you can simply drag the image to move the overlay to your ideal streaming position.
Common Mistakes When Adding Your Overlay
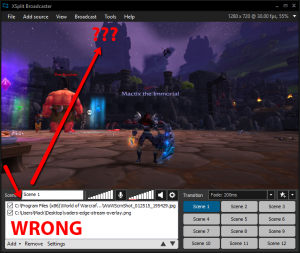
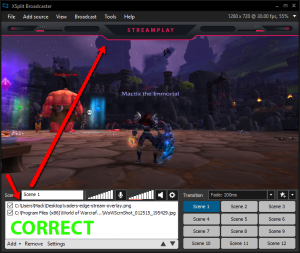
Not seeing your overlay, even after you added it correctly?
It’s likely that the image source is positioned below your screen / game capture. You’ll want to make sure your overlay is the very top source in your scene – that’s why it’s called an overlay after all ;).
Peep the images below to see what I’m talking about:
Is there a white, or black background showing with your overlay image?
Good chances you saved the image as a .jpg or some other file format doesn’t support transparency (like your government ![]() ).
).
When saving your overlay images, always make sure to first of all have your background layer removed or hidden, then make sure to save it as a .png.
Recommended: XSplit Gamecaster Setup Guide
That’s A Wrap
And that covers how to add an overlay to XSplit for Twitch, Hitbox, YouTube, MLG.tv – or whatever else you stream on.
If you run into any problems that I didn’t cover in this guide then leave a comment below and I’ll be sure to help you out.
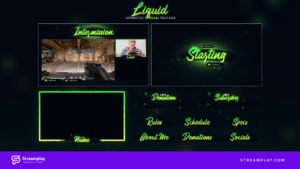
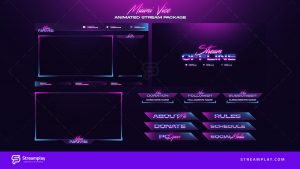
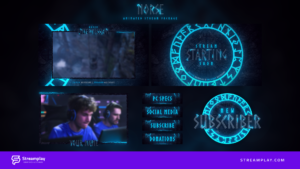
Also – If you’re looking for custom or premade graphics for your streaming channel then you’re gonna wanna head over to streamplay.com
We’ve got everything from minimalist overlays, panels, emotes, alerts, logos, and so much more. Anything you can think of, we either have already, or can design it for you from scratch.
Check us out![/vc_column_text][/vc_column][/vc_row]